Print sales
Most of my images can be purchased as prints either framed or unframed or as digital files. Here are some examples of recent purchases but if you have a specific image you would like, please let me know and I will see what I can do.
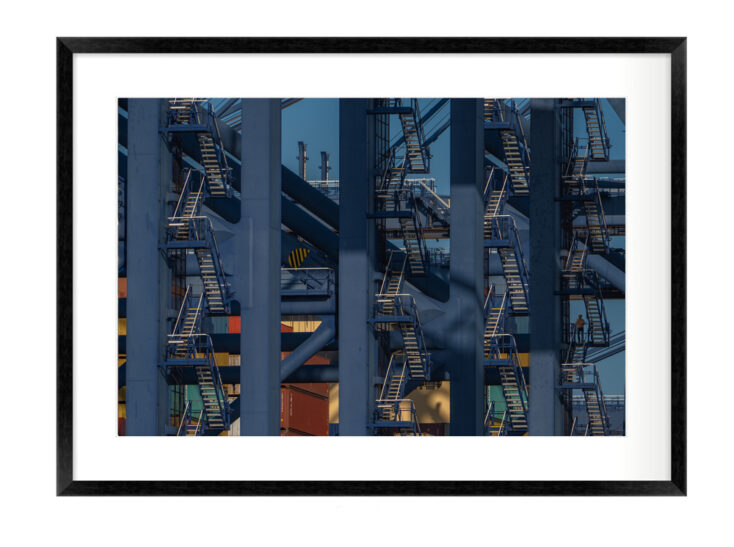
Steps (60cm x 40cm print) £280 framed, £180 unframed.
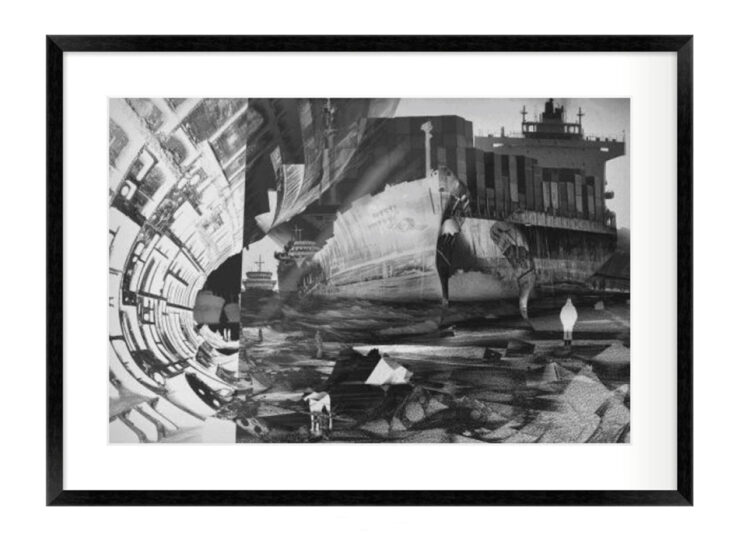
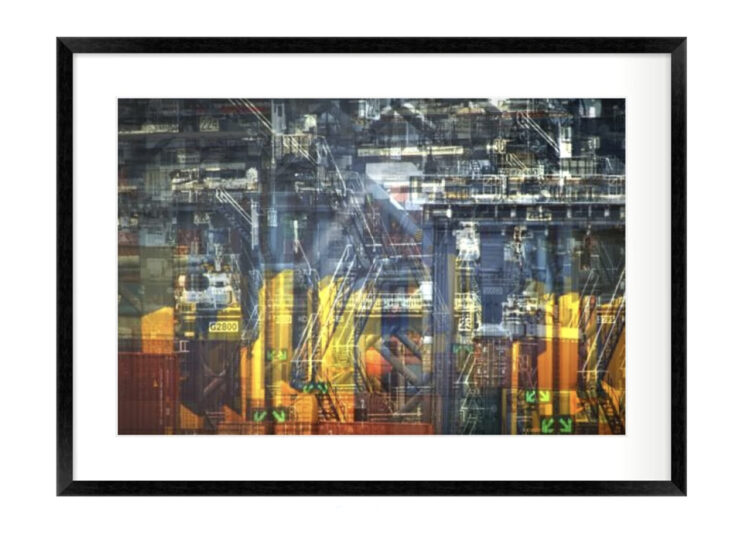
Breakers AI (60cm x 40cm print) £260 framed, £180 unframed
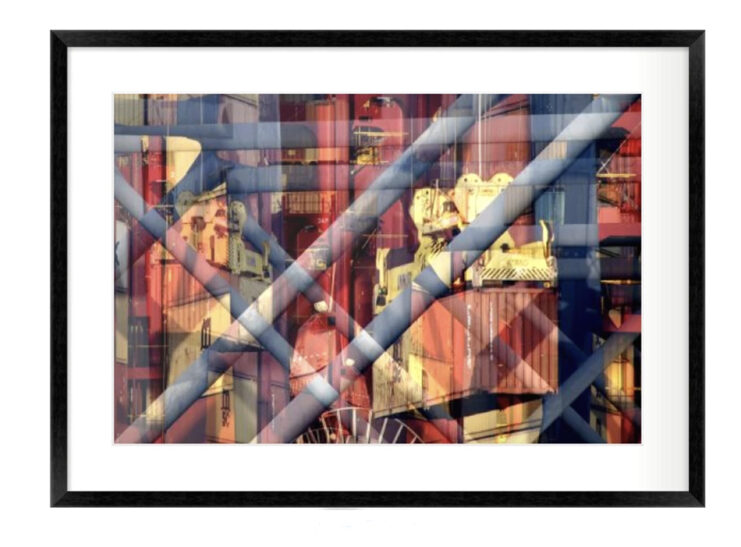
Loading (60cm x 40cm print) £260 framed, £180 unframed

Ship breakers, Chittagong 12″x12″ £180

Ship breakers, Chittagong 12″x12″ £180
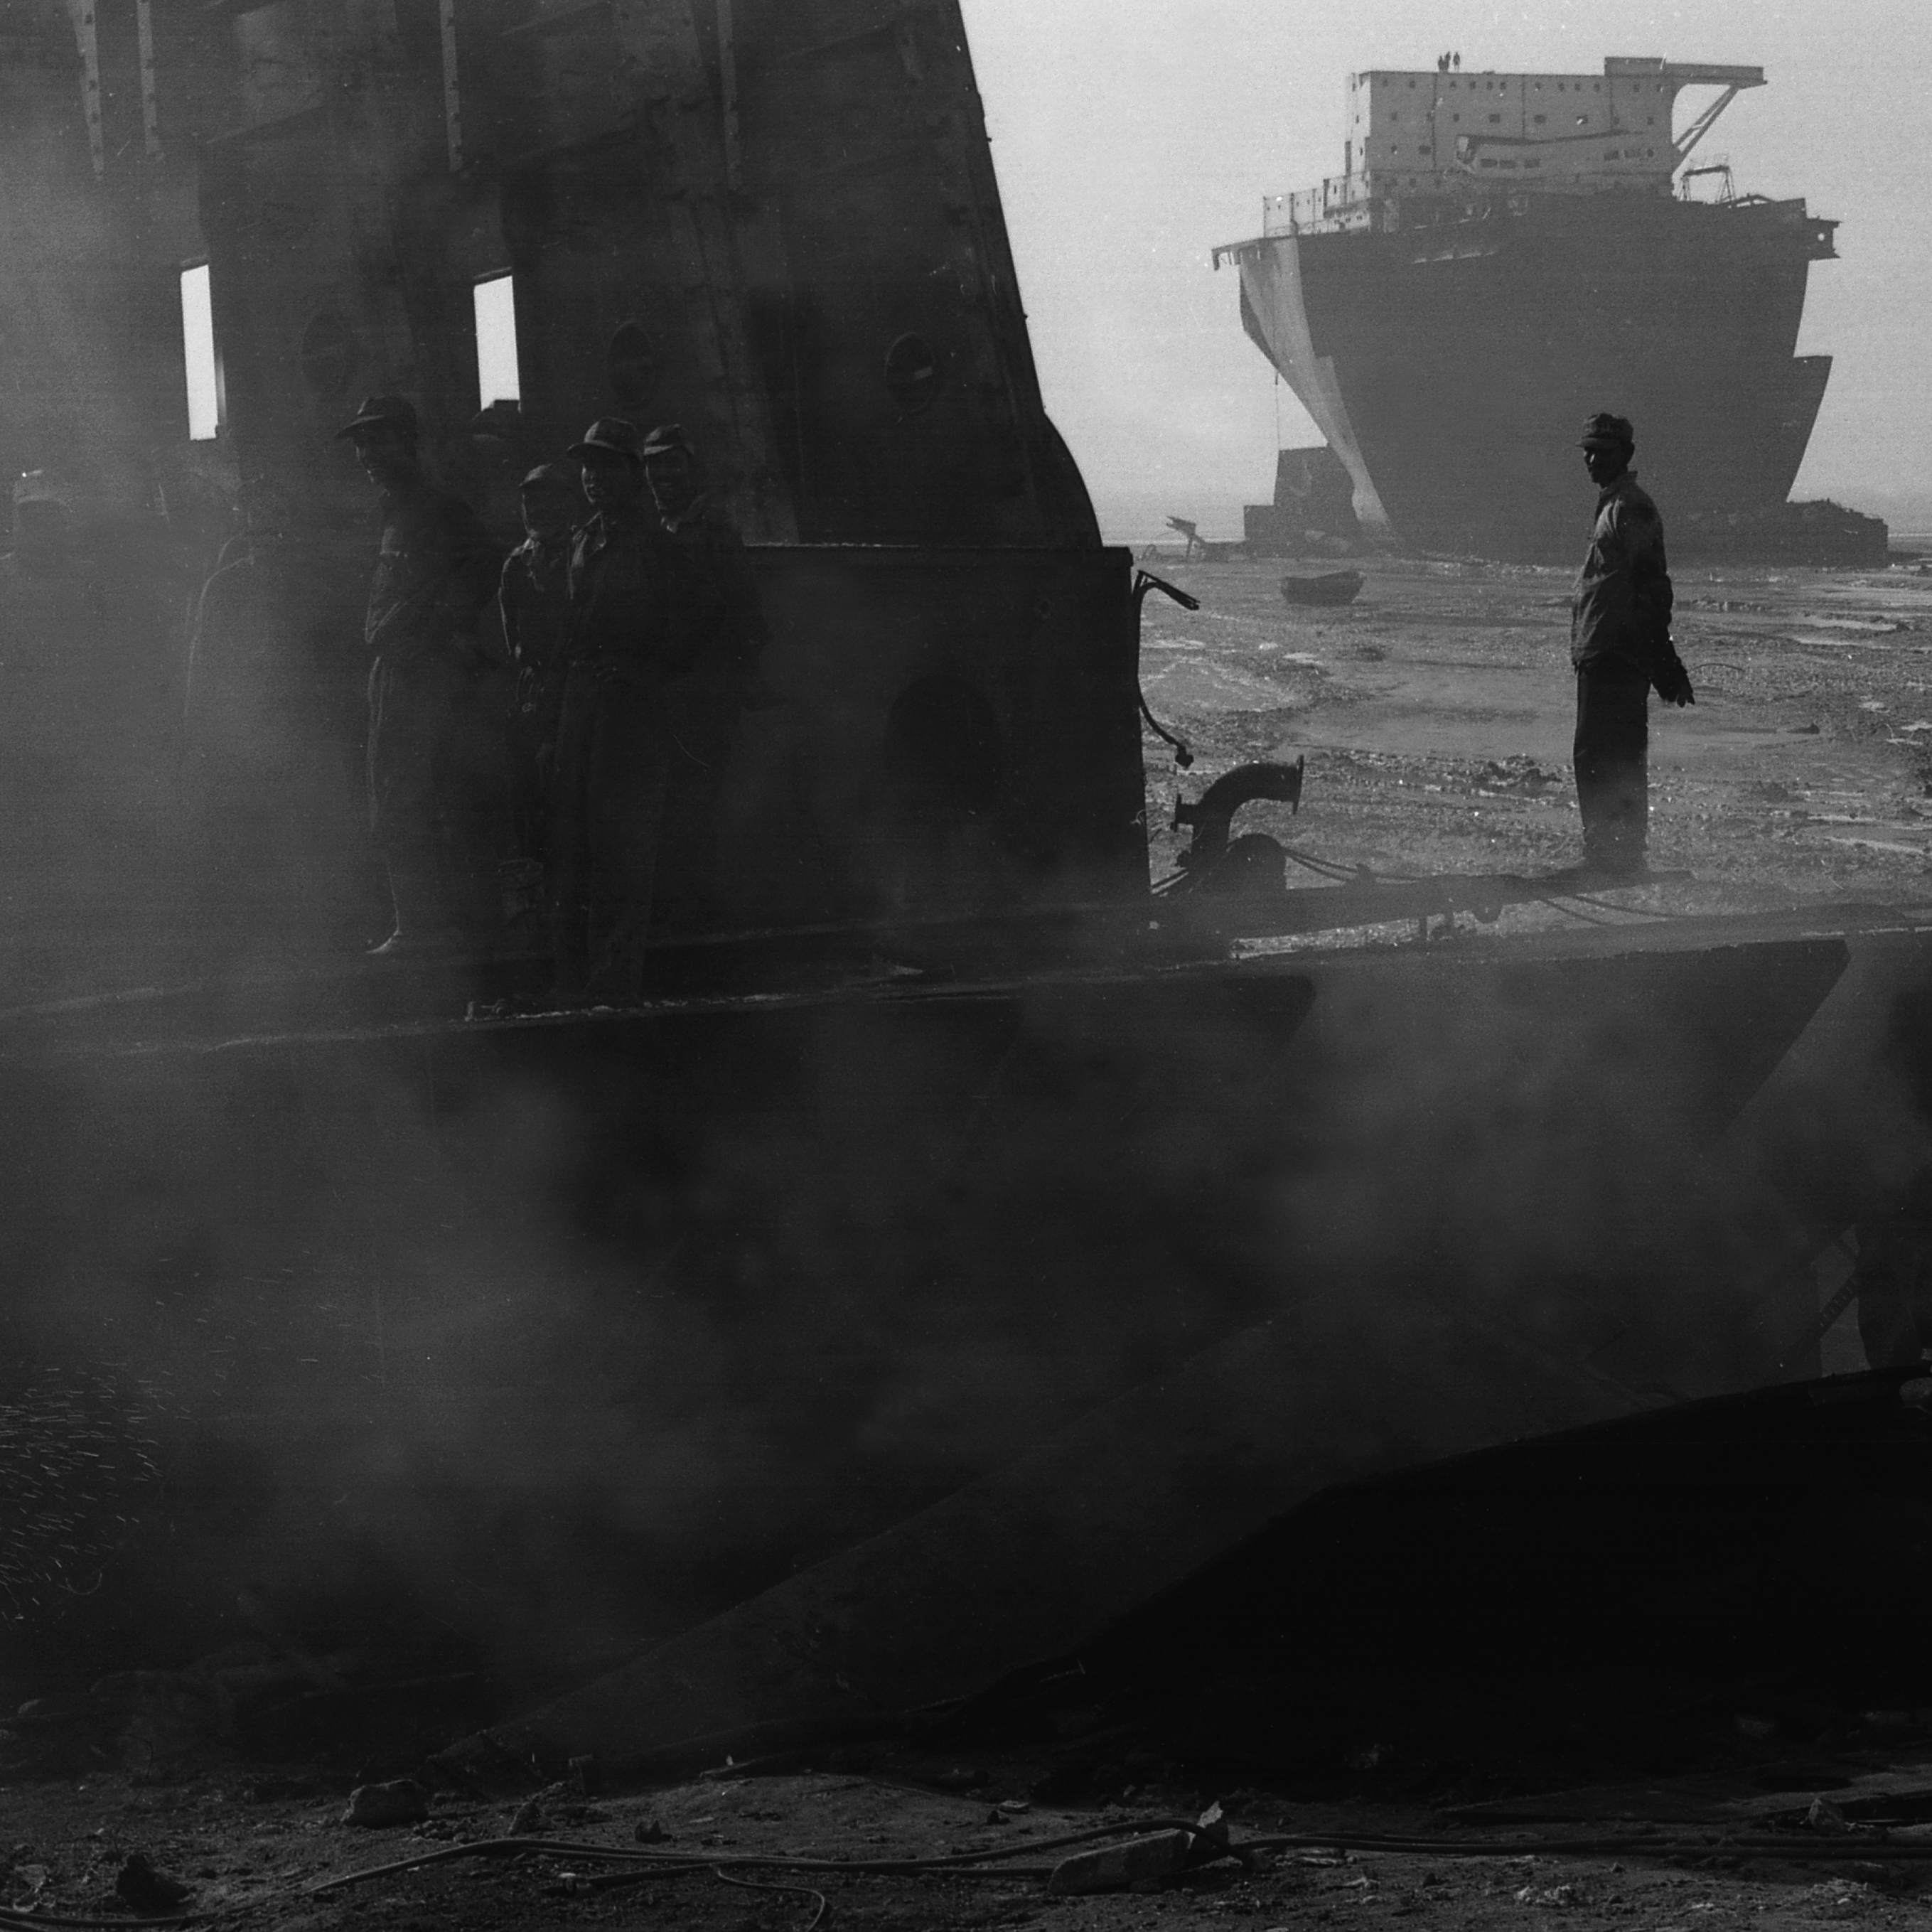
Ship breakers, Chittagong 12″x12″ £180