Overview of Nova Darkroom Tent and adaptations
Introduction
I often have to deliver on-site darkroom training to individuals and organisations who do not have an existing darkroom or space which can be converted temporarily into one. Over the last few years, my solution has been to take my own small portable darkroom along with all of the normal printing and film processing equipment. When I was researching darkroom tents a few years ago, I remember struggling to find much information or reviews to help me make my decision. My clients would also tell me that they had struggled to learn more about temporary or portable darkrooms. To fill the gap, I thought I should put together a page that records my experience with portable darkrooms, specifically the Nova Darkroom Tent and the modifications I have made to it.
As far as I am aware, the two most popular purpose built darkroom tents currently on the market in the UK are the Ilford Pop-up darkroom and the Nova Darkroom Tent . Some people have had success converting tents designed for other applications. One of the cheapest alternative darkrooms are grow tents, these have highly reflective interiors and designed mainly for ‘specialist’ forms of horticulture. Some photographers have converted ice fishing tents, these are designed to be erected and packed away frequently so may be more robust than the grow-tent solution.
Around 15 years ago, I was loaned a Nova tent which I believe had been used previously by the military as it had a few ‘non-standard’ modifications. When it came to buying one myself, I bought the Nova as it was the product I was familiar with. I have no experience with the Ilford version so I will mainly be looking at the Nova though some of my adaptations may also be possible with the Ilford model.
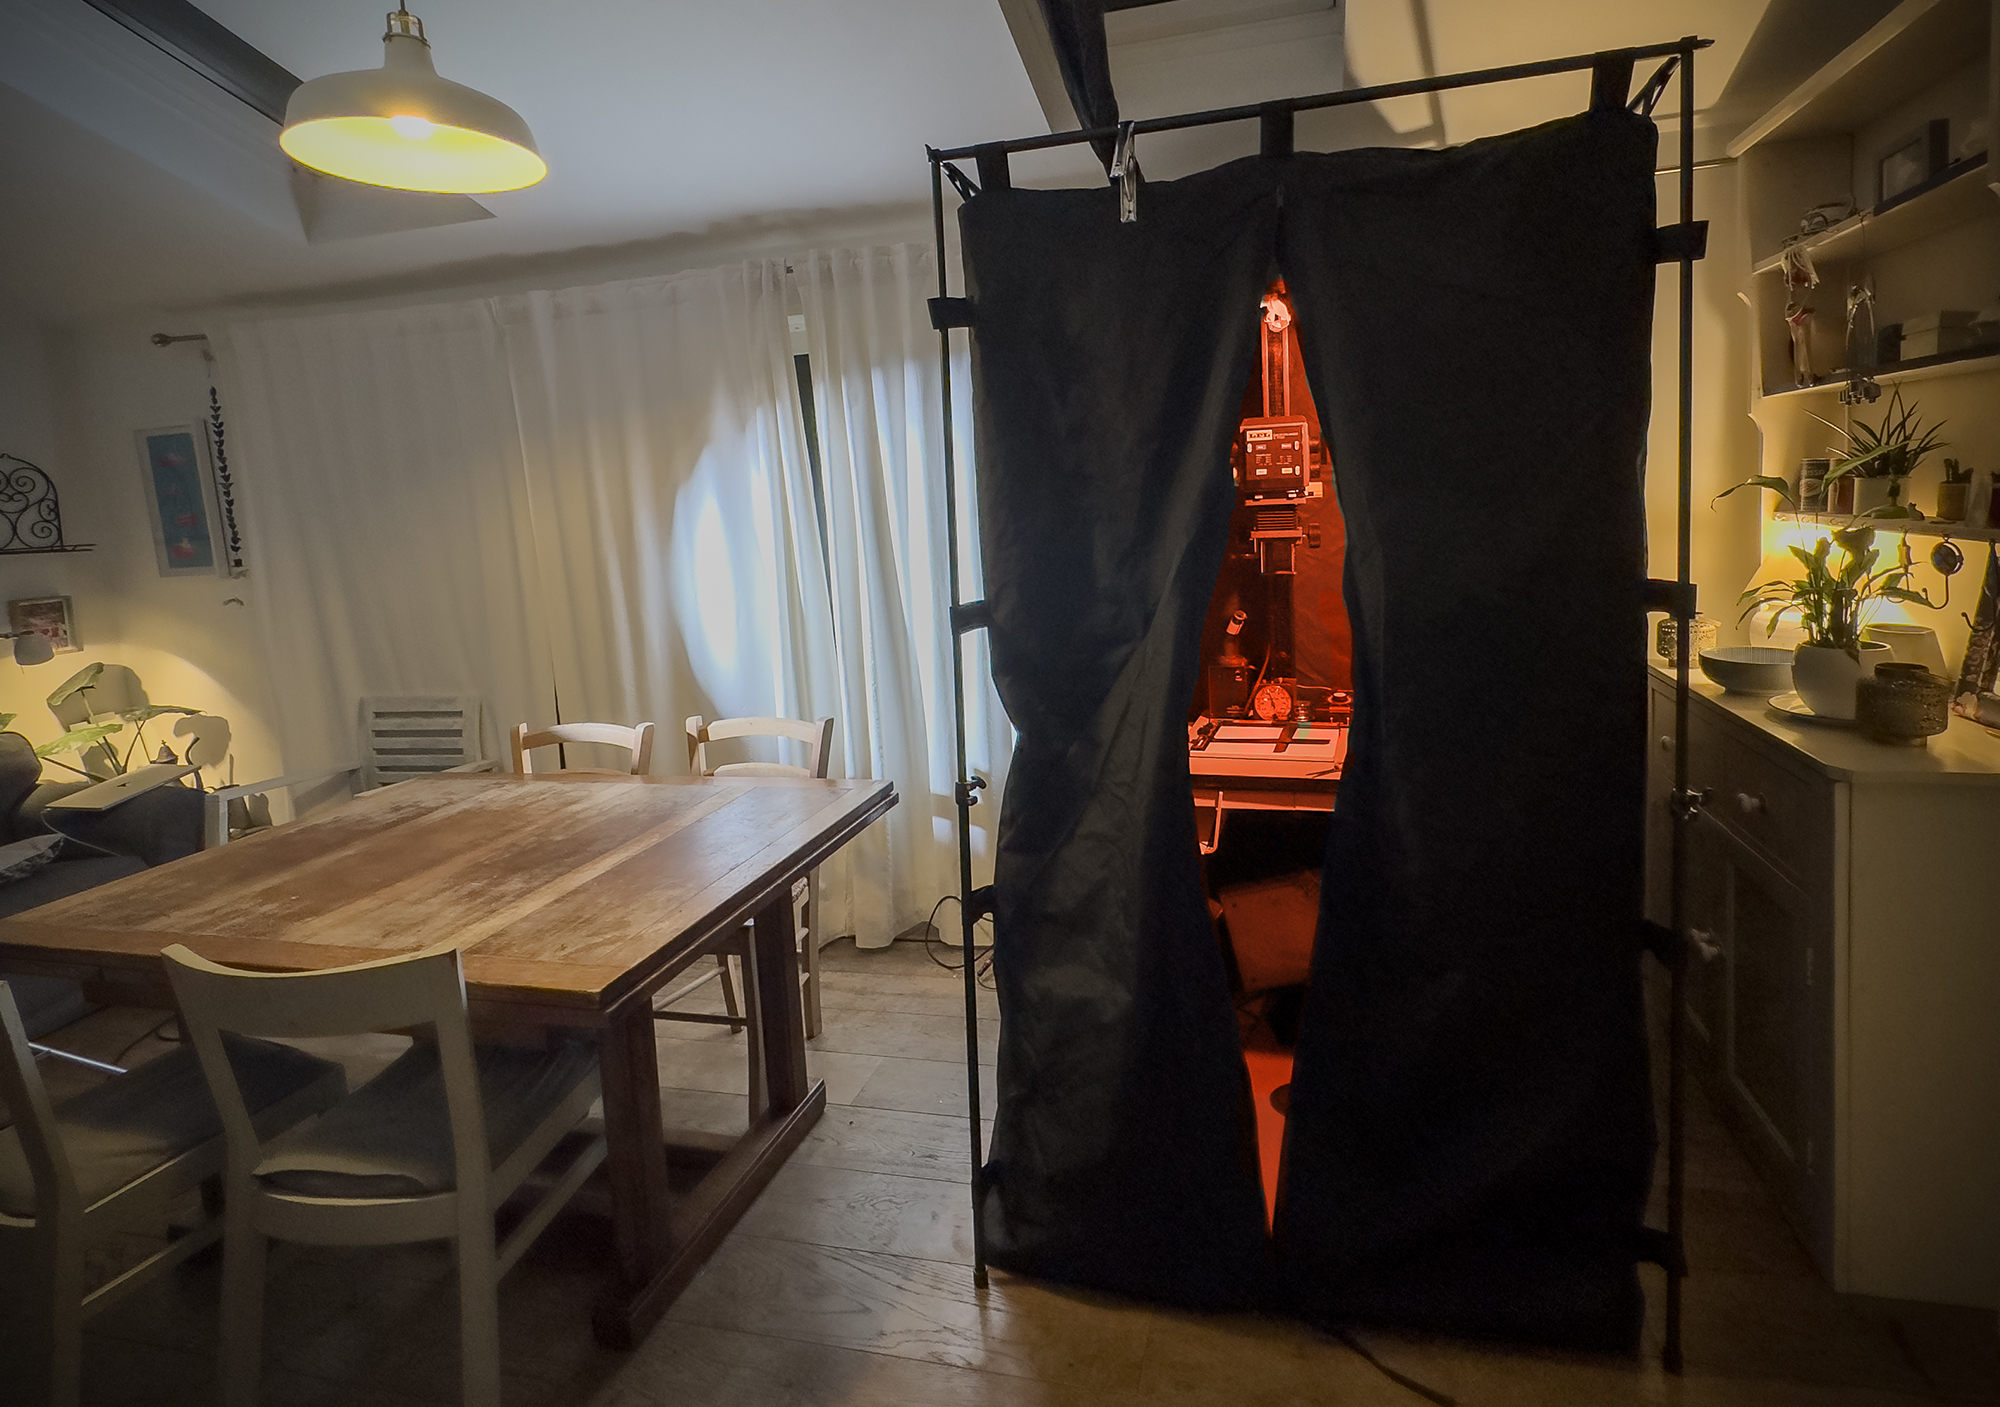
Nova Darkroom Tent, set up and ready for use
The Nova tent comes in a large bag with a draw string at the top but no carrying handles or shoulder straps. The fabric used to make the darkroom is quite thick and the frame is mainly made from strong metal tubes, there is also a large electric fan so the whole package is quite heavy and without handles isn’t easy to carry. I probably wouldn’t want to take the Nova up a mountain or off-grid, as the fan needs mains electricity. During my research into darkroom tents, I found a video by someone that has used the Ilford version on location for wet collodion photography. Pictures of the bag supplied with the Ilford model show that it comes with carrying handles.
Inflating the tent
The first step is to attach the fan and plug it in, if the door is zipped shut and all the ports are closed it should soon start to inflate. The fan is very quiet and quite slow so helping to unfold the tent and supporting the weight of the material helps to speed up the process. After about 10 minutes, I start to attach the frame to the inner. The tent should be fully inflated and supported by the frame after around 15 minutes. The fan can then be switched off and then only used when you need ventilation inside. The tent has a long ‘flue’ to vent fumes, one end emerges from a hole in the centre of the ceiling, the other end has a zip to close the flue for inflation and can be directed through a nearby window if required.
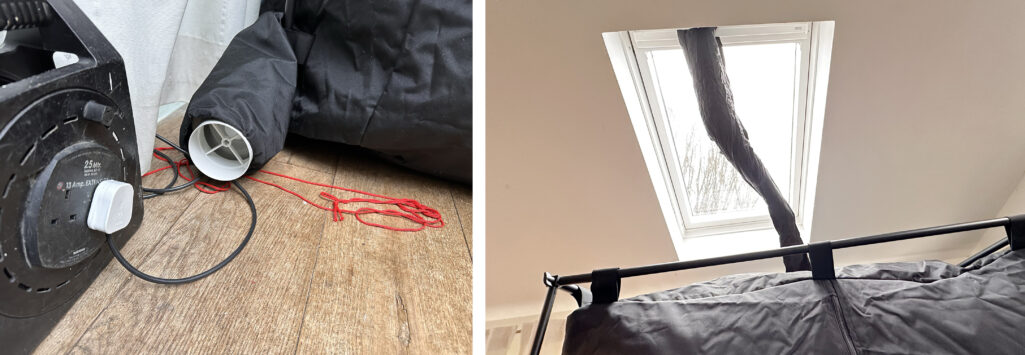
Left, air inlet with fan. Right, air outlet from centre of ceiling.
Setting up a Nova Darkroom Tent – time lapse video
Dimensions
The exterior dimensions of the tent are 117 cm wide, 117 cm deep and 200 cm high. The interior is approximately 104 cm x 104 cm and around 200 cm high as the fan lifts the ceiling when it is switched on. In addition to the air inlet, there are two light tight sleeves to allow cables into the tent, one at the bottom of the tent and one half way up. There is also a ‘window’ which can be opened from inside to allow external light to illuminate the interior, this can be really useful in the early stages of fitting out the tent before any lighting is connected up. There is a floor to ceiling zip (with velcro backing) running up the middle of the tent for access which is completely light-tight, I have found that the zip seems to get stuck quite easily so I avoid using it if I can (more about this at the bottom).
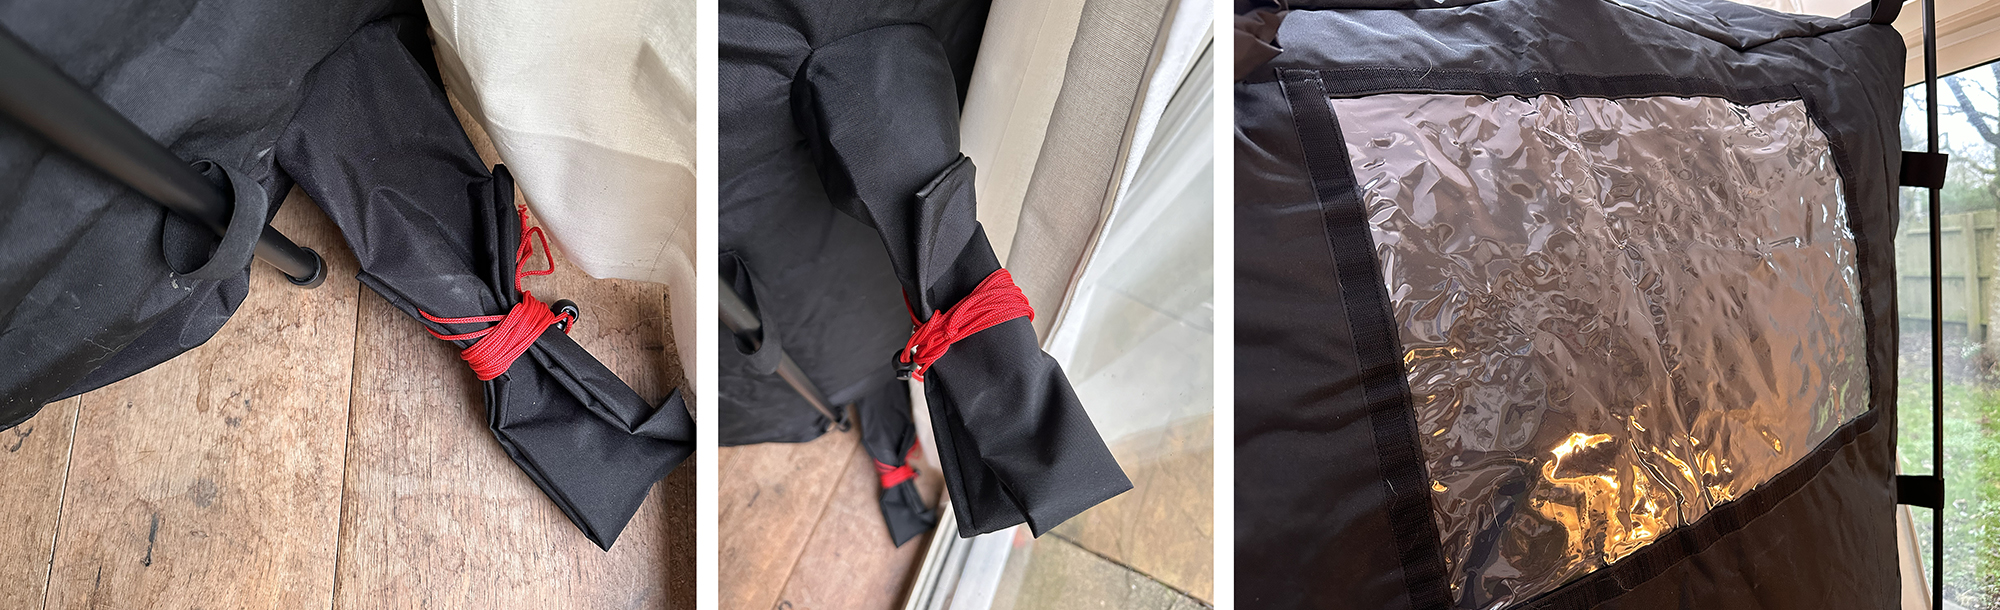
Cable entry points and window.
Interior
As you would expect, the inside of the darkroom is little more than an empty black box. Originally, the tent had a large white fabric pocket on each side which might hold a box of paper or other large flatfish lightweight items. I was worried that the white material might reflect stray light from the neg carrier onto the baseboard and so I have removed these pockets. Apart from the pockets, there were no obvious places to support items such as safelights, timers etc.
I assume that most people will be using these darkrooms to house an enlarger so a table would be one of the first additions. Nova offers their own table that fits the darkroom. I picked up a really solid 4 foot wide camping table for around £20 which fits perfectly in the tent.
Sadly, there is no way I could squeeze my De Vere enlarger into the tent so, as my main reason for using the darkroom is to take it out on the road I normally use a much smaller LPL C7700 enlarger in the tent. I really wouldn’t want to use anything larger than this as the top of this enlarger’s column still touches the ceiling of the tent.
Arranging the workspace
The first time I used the darkroom I realised that there wasn’t really enough space to have the enlarger and three 10″ x 8″ trays in a row. I needed to find a way to save some space and separate the wet and dry areas in the darkroom.
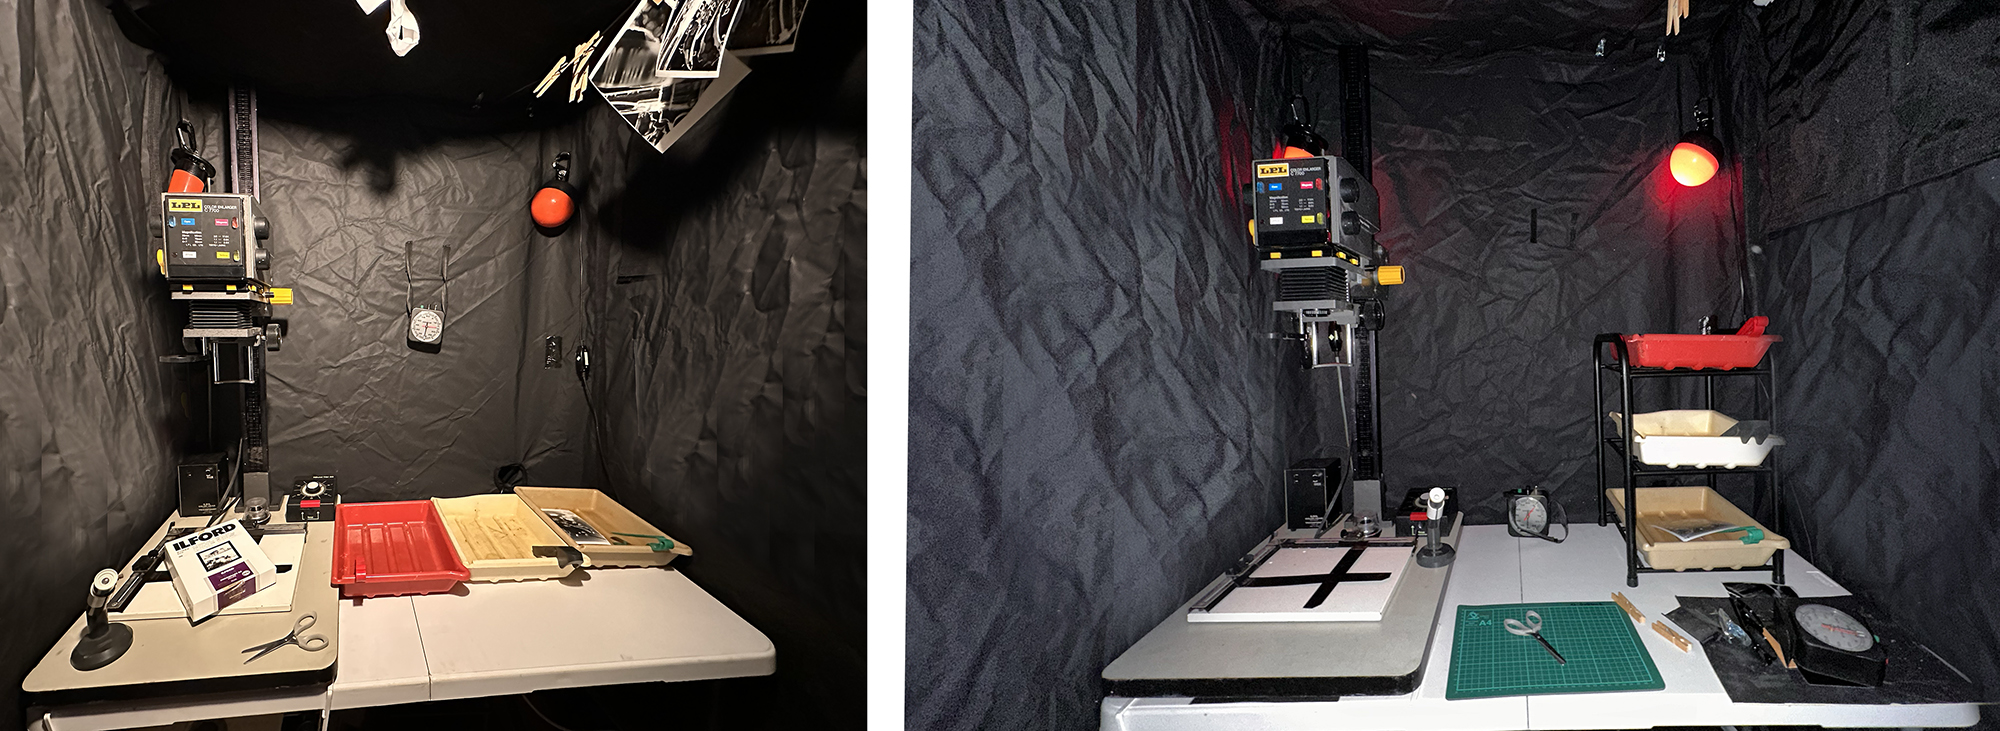
Left image shows 3 trays in a row. Right, three trays on home-made rack
I can remember Jessops once sold a rack to hold three 10″ x 8″ trays above each other which was great for smaller darkrooms. Sadly these are no longer available so I had to improvise. I found what I think must have been a shoe rack in a charity shop for £5 which was the exact width of a 10″ x 8″ Patterson tray, all I had to do was cut off a couple of the lower shelves. This solution saved loads of extra desk space and provides some separation between the wet and dry areas. Eventually I will make or find another rack to support 16″ x12″ trays.
To provide a bit more storage space I picked up a cheap, wire shelf that hangs below the underside of the table which will easily accommodate boxes of 10″ x 8″ paper, scissors, lenses, filters, negative, sleeves etc.
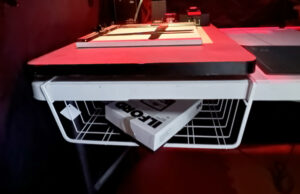
Under table wire shelf
Safelights
I didn’t want table mounted safelights so I sewed some loops into the top corners of the tent made from old bits of webbing. I then attached loops of strong cord to the back of a couple of small safelights and used carabiners to link the lights to the ceiling of the tent, waterproof switches were then added to each of the cables where I could reach them. A white light has also been secured to a corner in the same way.
Darkroom timer
While I could easily use my phone as a timer I always like having a proper clockwork timer in my darkroom. With limited table space, I thought I would try to attach a small timer to the ‘wall’ of the tent. I had an old Smiths timer which had lost its base. I used pop rivets to attach some webbing to each side of the timer and fix velcro to the ends, hooks on one side loops, on the other. I then sewed a couple of lengths of velcro onto the wall. It was self adhesive but, the timer is quite heavy and the last thing I want is a timer to fall into a developing tray so I also secured the velcro to the wall with some more of my very amateurish stitching. I can also use this timer in my permanent darkroom by joining the ends of the webbing together to make a strap which can be hung from a magnetic hook on my drying cabinet.
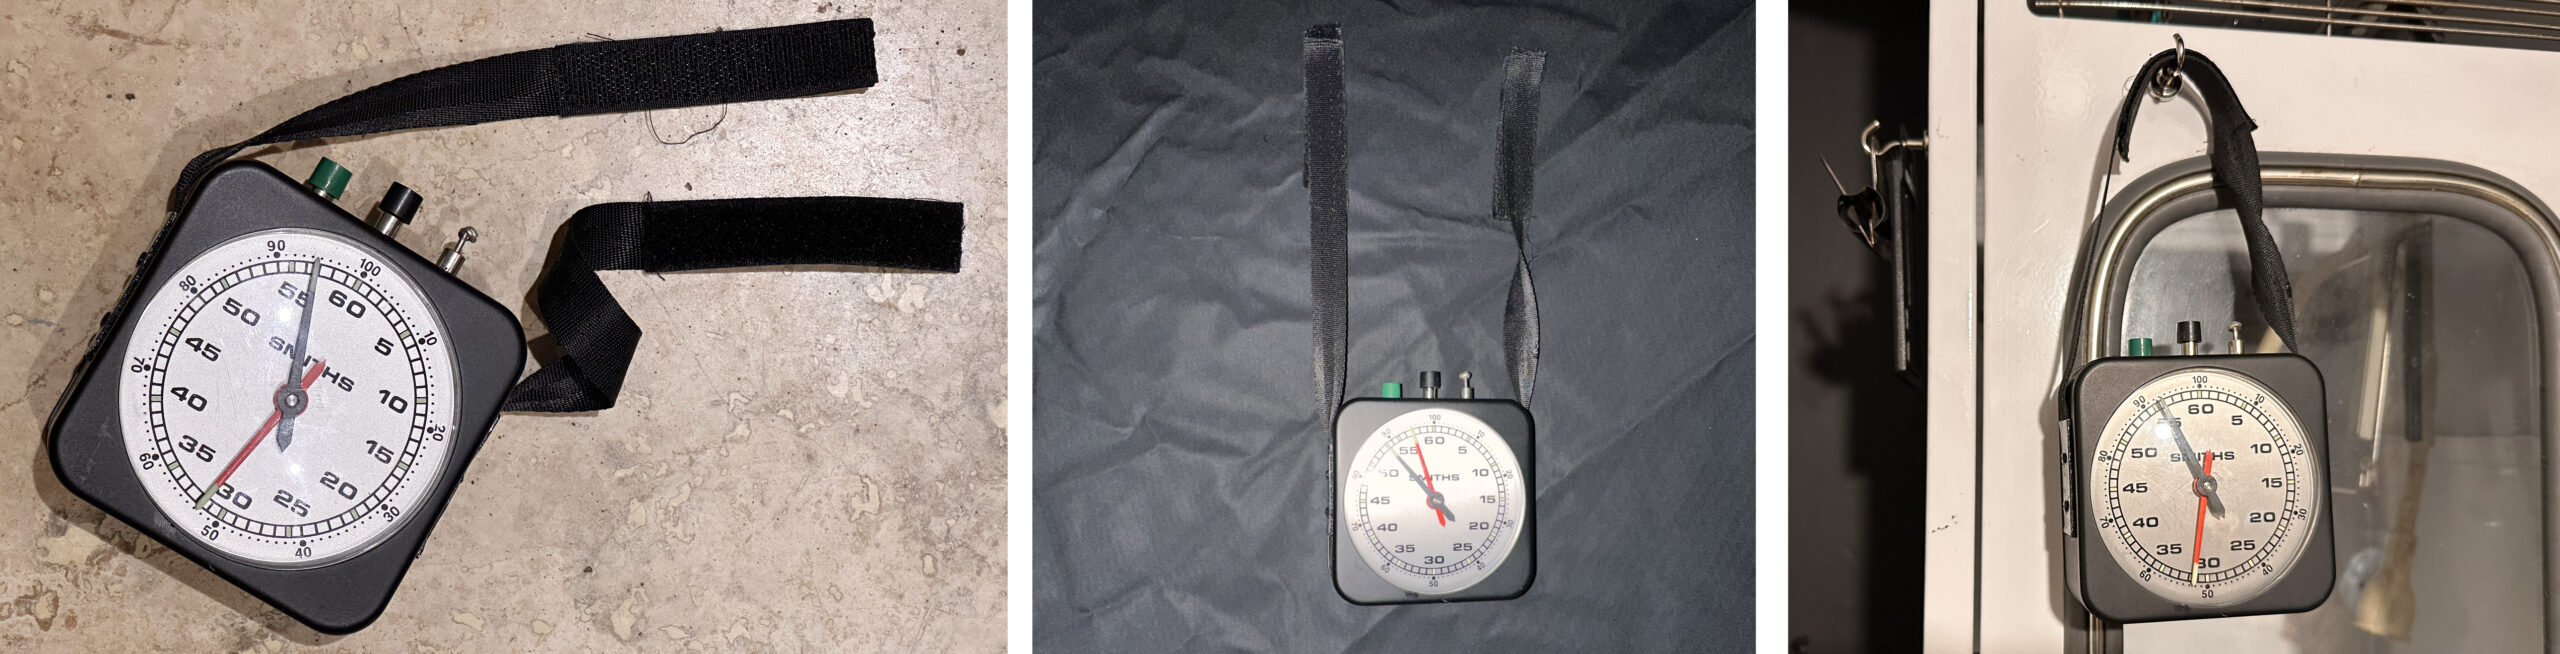
Modifications to an old Smiths timer showing it fixed in tent and in permanent darkroom.
Drying prints in the tent
After fixing, prints are left temporarily in an orange water bucket (so I can see it) under the table. The prints are then taken to a nearby sink for final washing. If required, I can dry the prints in the darkroom. Crocodile clips can easily clip to the large seams between the ‘walls’ and the ‘ceilings of the tent. The fan doesn’t have an air filter so I would be reluctant to dry film in the tent unless it is kept closed for several hours with the fan off and nobody goes into it.
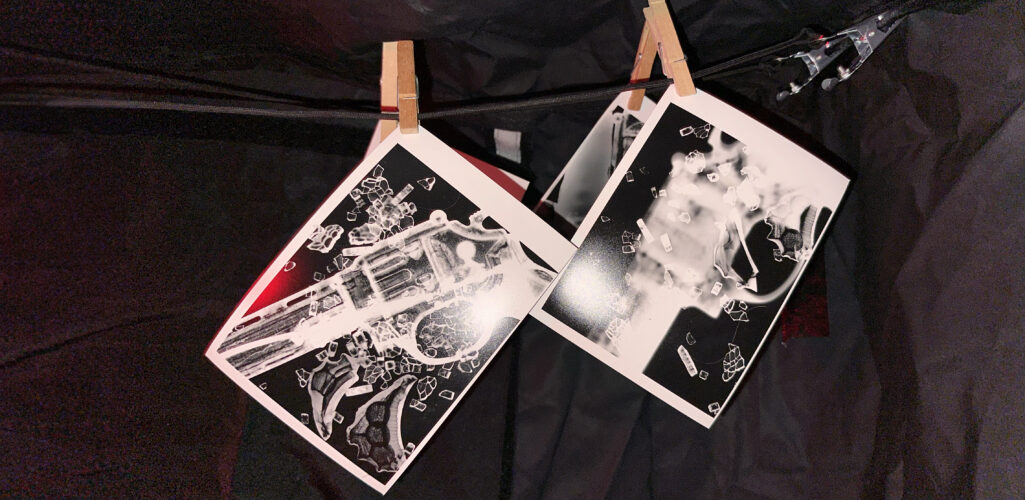
Prints drying on line attached to tent using crocodile clips.
Tent floor
The tent floor is made from the same material as the walls and ceiling and I would be a bit worried about damaging the fabric with the feet of the table or stools. I also found that if I dropped something on the black fabric floor it was very hard to find it again unless I switched the lights on. I found some large, colourful, interlocking foam rubber floor tiles which I think are for children’s play areas and cut them to the size of the space. The tiles are comfortable under foot and should reduce stress on the floor.
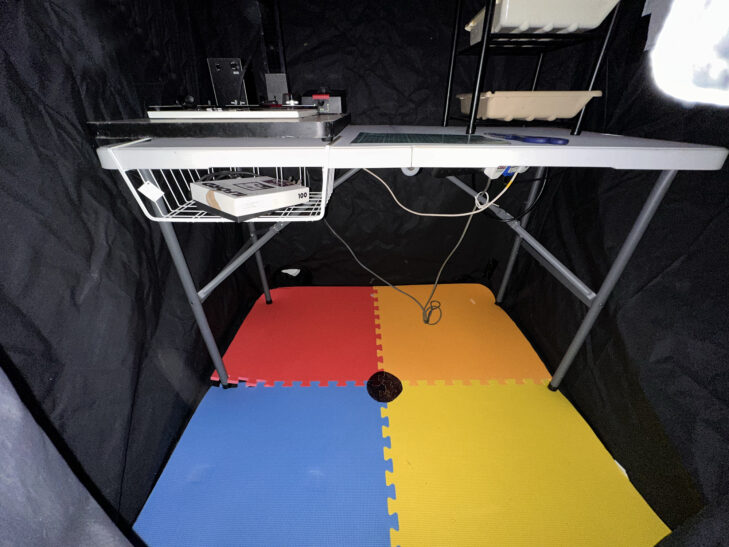
Foam rubber floor in tent
Entry zip
I have found that the main entry zip sometimes needs a bit of persuasion to open or close and the velcro behind it has started to separate from the material. I am a little worried that this might be a future point of failure so to minimise use, I hang a large 2 meter length of black velvet from the metal frame above the door which covers the entrance and blocks out almost all stray light. I now only use the zip if I am working with film or there is a lot of ambient light.
Final thoughts
The tent is very well made and should last me a long time. It is also very easy to modify (and I am sure the same is true for the Ilford model). My modifications have made it a much more comfortable place to work for extended periods. A well laid out, small darkroom can be a very pleasant place to work in, with everything in reach from a comfortable seated position. The ventilation offered as standard with the Nova tent is also a very welcome feature.
I am sure there are still things that I will do to the tent to make it better still. A replacement bag that is much stronger and has some carrying handles is top of the list. A rack to hold 16″ x 12″ trays would also allow me to make larger prints in the tent.
I am planning to use the tent in artists residencies which are often based in art galleries or other large, open spaces. I believe that the metal frame is strong enough to support an outer ‘skin’ which could be made from flexible melamine boards clipped to the tubular frame or fabric hung from the horizontal bars at the top. These temporary panels could provide information about a project to visitors, provide a white board or projection screen for workshops or training and a small gallery wall to display work. Watch this space……….